
How to Build a WordPress Website with Hostinger: Complete Guide for Beginners
For many users looking to build a personal blog, business website, or e-commerce platform, WordPress is one of the most popular website building tools. Hostinger, on the other hand, is a highly cost-effective and user-friendly hosting provider that is especially suitable for beginners. This article will guide you step-by-step through the website setup process.
Before reading, we assume you have already registered a Hostinger account.
1. Introduction to Hostinger
Hostinger, founded in 2004, is a globally recognized web hosting provider with services available in over 150 countries and more than 29 million users worldwide.
Key Advantages of Hostinger:
- Fast page loading speeds (powered by LiteSpeed technology)
- Free SSL certificates included
- One-click WordPress installation
- Built-in CDN acceleration for faster global access
- Excellent value for money, with low entry-level pricing
Hostinger’s custom control panel, hPanel, is clean, intuitive, and especially suitable for beginners and small to medium-sized businesses looking to build their websites easily.
2. Choosing and Purchasing a Hostinger Plan
Hostinger offers two main types of hosting services optimized for WordPress: Web Hosting and Cloud Hosting. For beginners, the more budget-friendly Web Hosting is recommended. It’s ideal for small business websites, personal blogs, and portfolio sites.
Plan Selection
Hostinger’s Web Hosting is divided into two main packages:
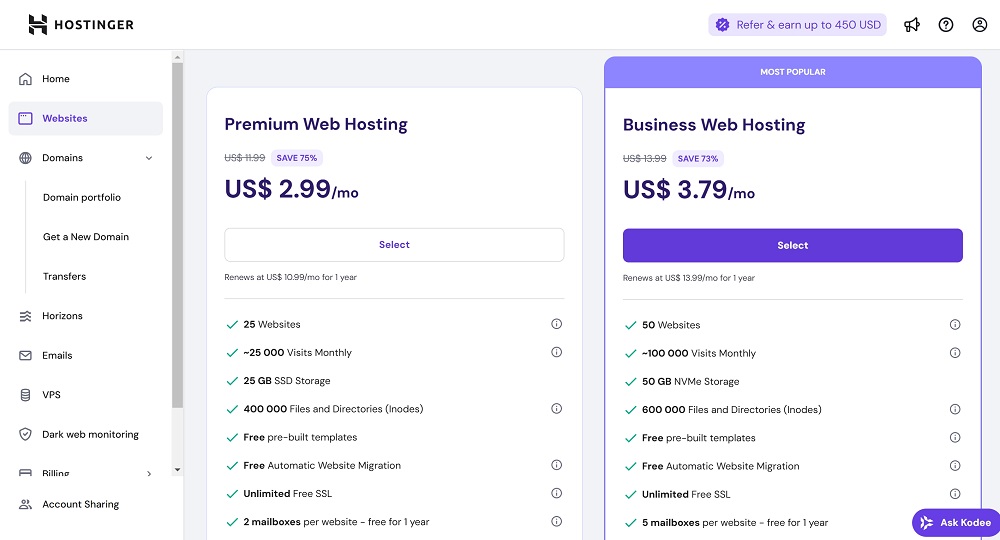
- Premium Web Hosting:
The most affordable option—just $2.99/month. Supports up to 25 websites, includes 25 GB SSD storage, free domain, free website migration, and free email service for 1 year. - Business Web Hosting:
Supports 50 websites, with 50 GB NVMe storage (faster than traditional SSD, highly recommended), CDN included, and daily backups.
Our recommendation for beginners: Choose Business Web Hosting. It includes a free domain and built-in CDN, providing better speed and scalability.
How to Purchase a Hosting Plan
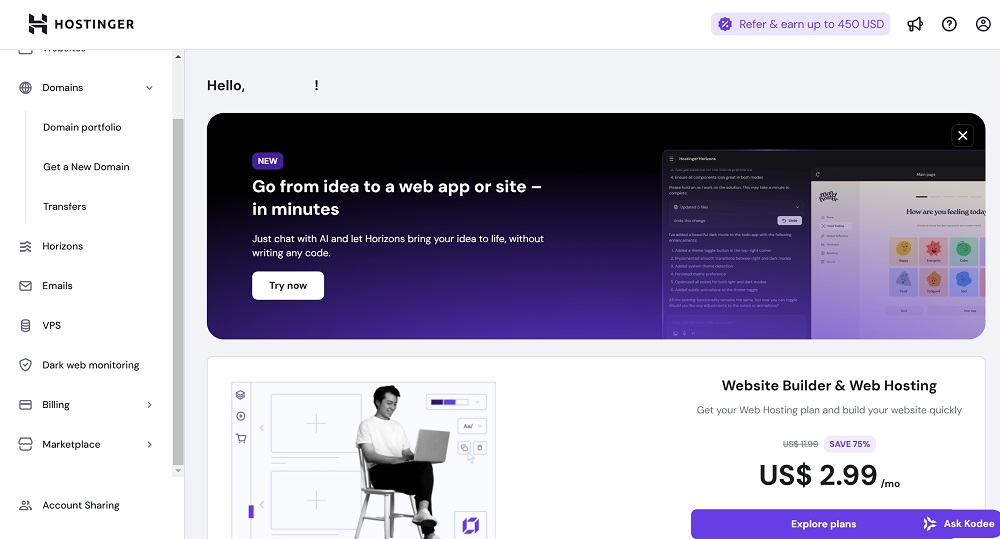
After logging into your Hostinger account for the first time:
Click on “Explore Plans” from the main dashboard.
You will be taken to the plan selection page.For this guide, we’ll use Business Web Hosting as our example. Click “Select” next to that plan.
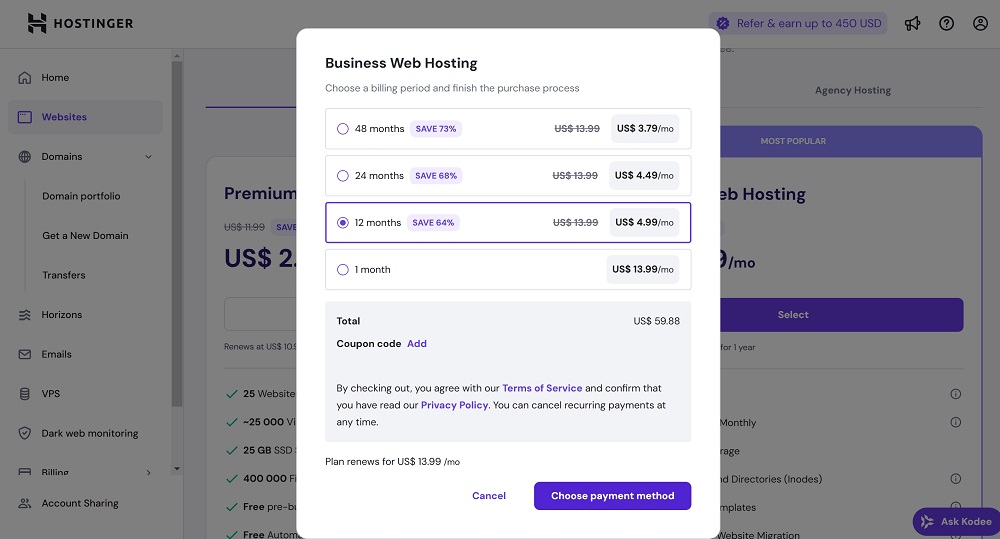
Next, choose your billing period.Hostinger offers flexible durations, ranging from 1 month to 48 months. The 48-month plan provides the biggest discount, averaging just $3.79/month.For this tutorial, we’ll select a 12-month billing cycle, then click “Choose Payment Method”.
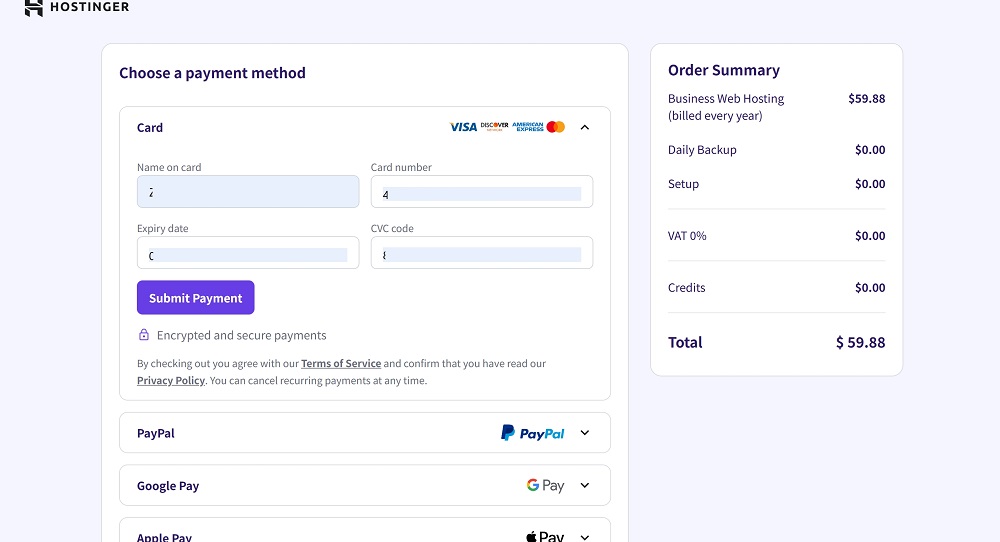
On the payment screen, you’ll find multiple supported payment options including: In this example, we proceed with credit card payment.
- Credit/Debit Card
- PayPal
- Google Pay
- Cryptocurrency (varies by region)
Once your payment is complete, Hostinger will automatically guide you through the website setup process.
Just follow the on-screen installation wizard, step-by-step — it’s designed to be beginner-friendly.
You’re now ready to install WordPress and start customizing your site!
3. Installing a WordPress Website
After completing the purchase, Hostinger will launch an installation wizard to guide you through the website setup process. Follow the steps below to install WordPress:
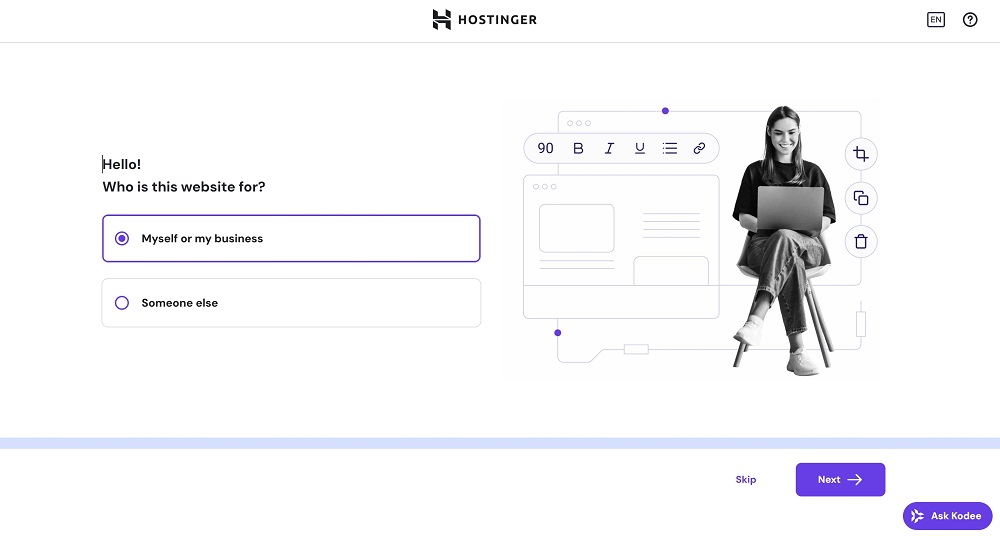
Step 1: Who is this website for?
Select “Myself” or “My business”, depending on your purpose. Click Next.
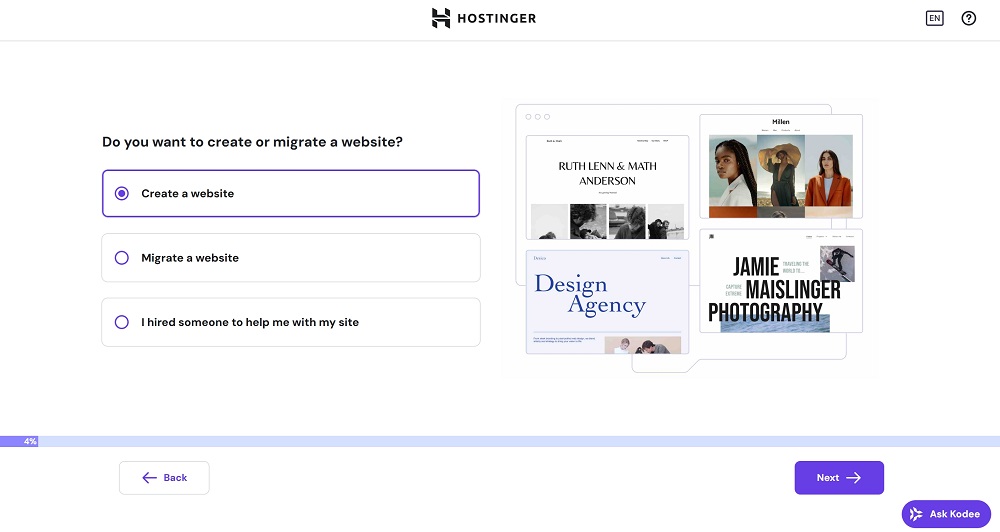
Step 2: Create or Migrate
Since we are setting up a brand-new website, choose “Create a Website”.Then click Next.
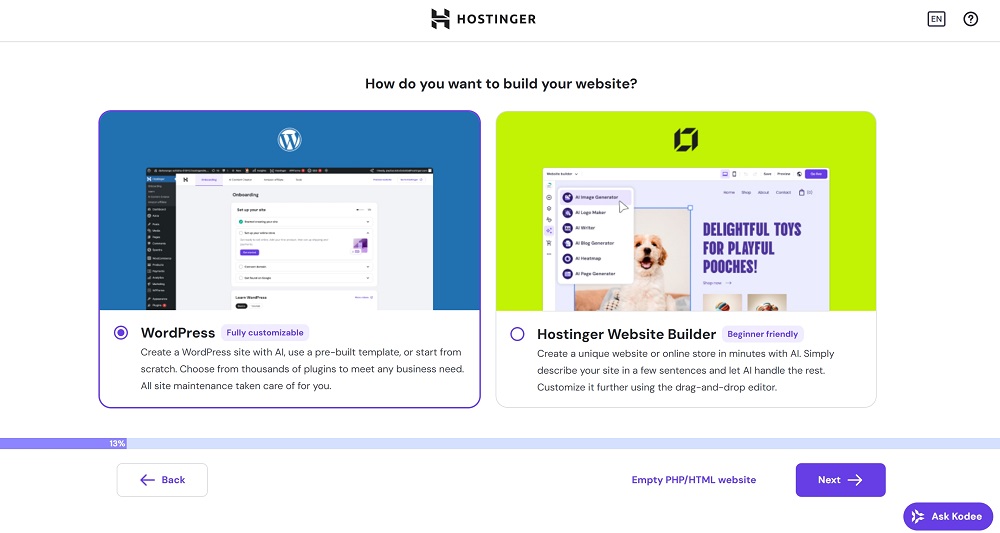
Step 3: Choose Platform
On this screen, select WordPress as your website platform.
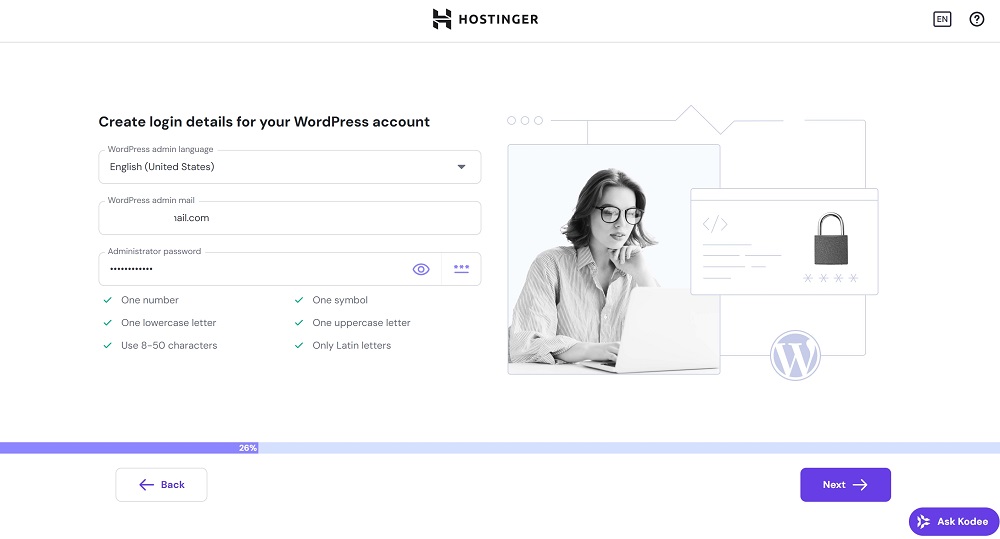
Step 4: Create WordPress Login
You’ll now be asked to create login credentials for your WordPress site. Set a username and password, then click Continue.
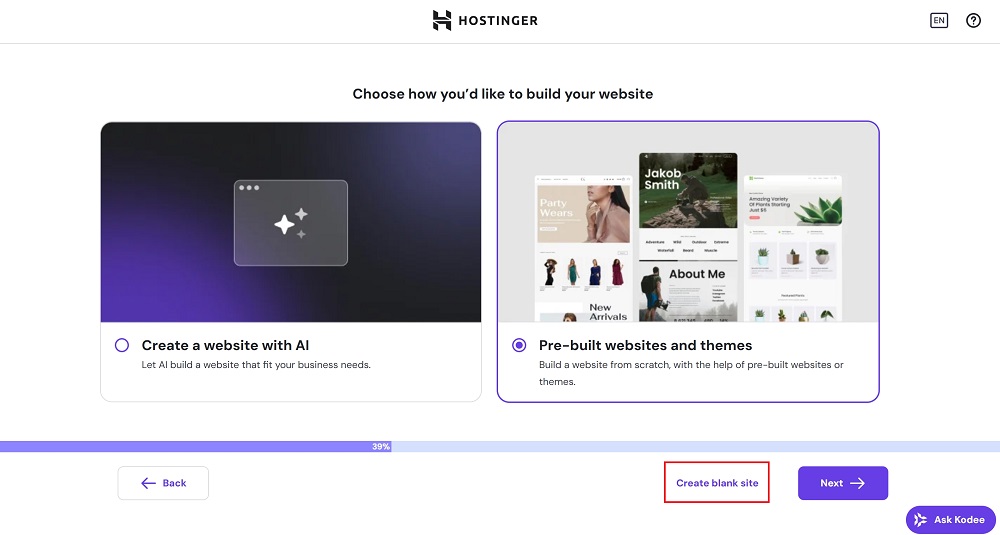
Step 5: Website Setup Method
Here you can choose how you want to build your site:
- Use AI Website Builder
- Choose from pre-designed templates
- Or start with a blank site
To keep things simple, we’ll select “Create a Blank Site”, then click Next.
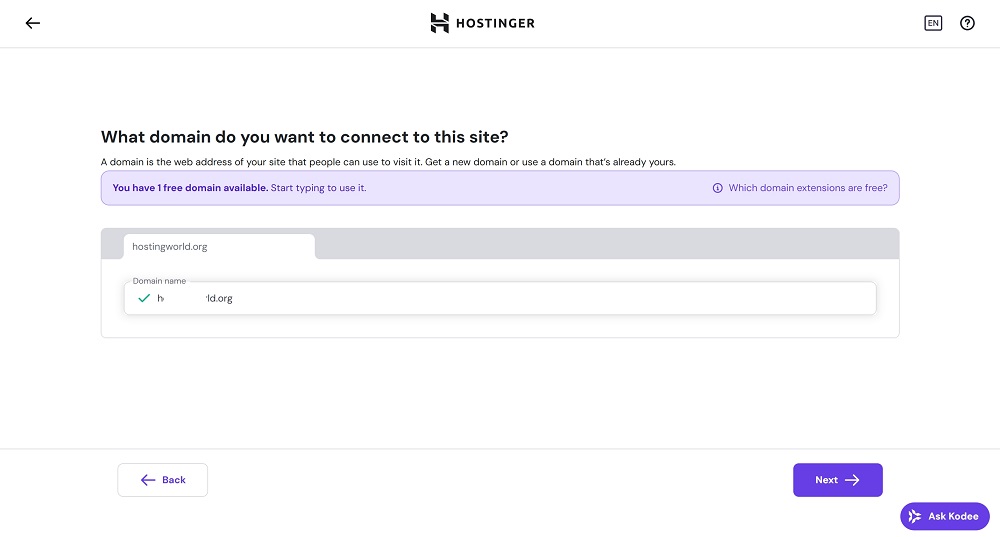
Step 6: Connect a Domain Name
Choose how to assign a domain to your site:
- Use a temporary domain (for testing or setup)
- Or enter your own custom domain name
In this example, we enter our desired domain name and select a free domain provided by Hostinger. Click Next once completed.
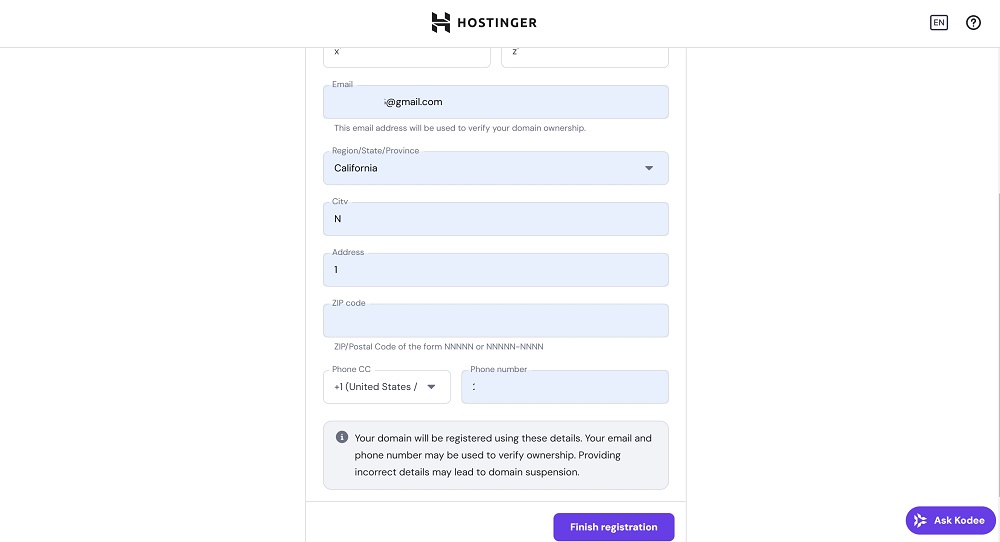
Step 7: Domain Registration Info
Fill in the primary domain registration details and contact information. Click “Finish Registration”.
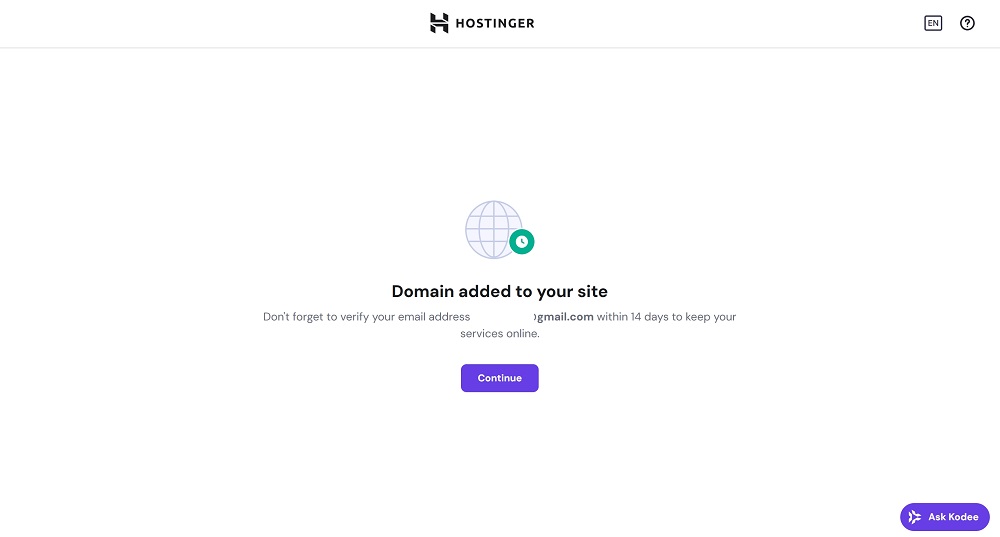
Step 8: Domain Verification Notice
Once the domain is successfully registered, you’ll see a confirmation.
You’ll be reminded to verify your email within 14 days to keep your domain active. Click Continue.
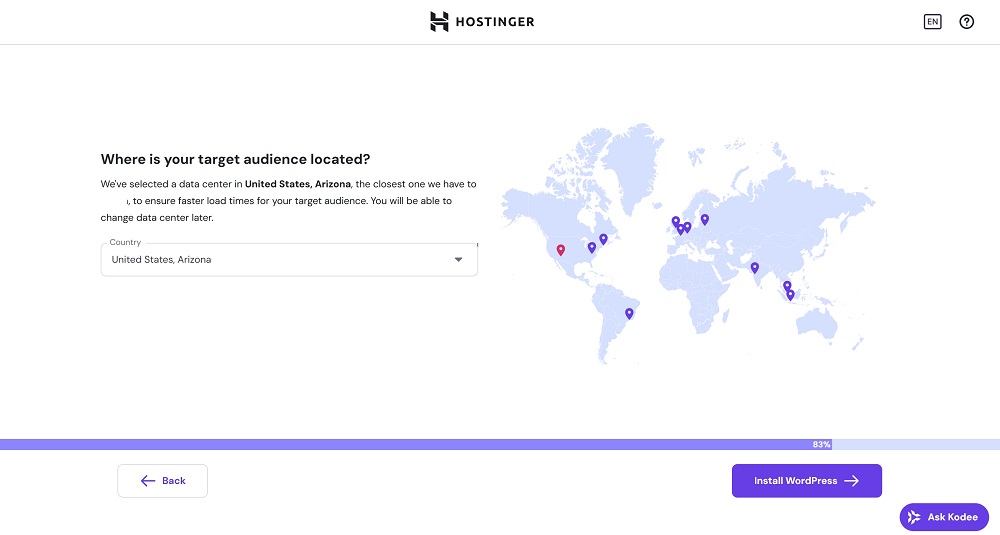
Step 9: Choose Server Location
Select a data center region for your website.
Hostinger will suggest a location based on your country, but you can change it later.
Click “Install WordPress” to begin the final step.
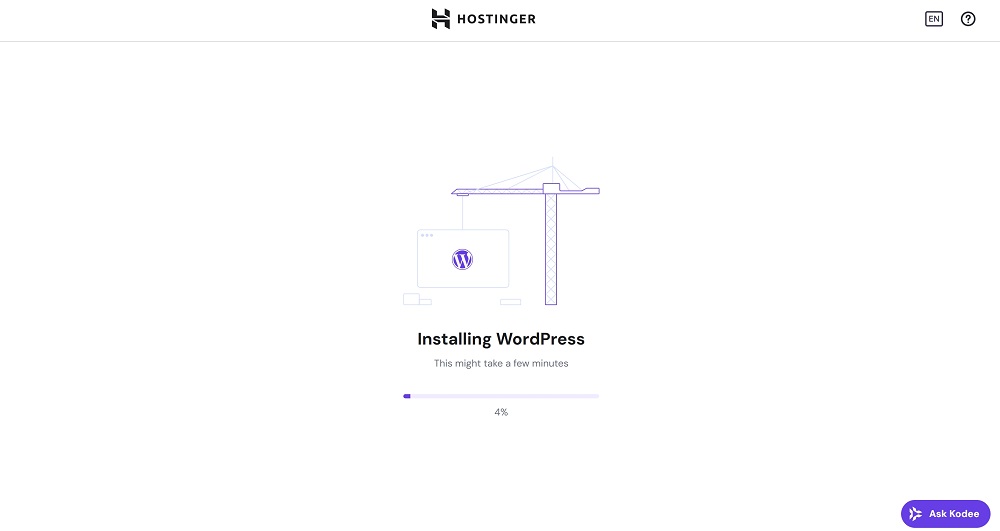
Installation Complete
WordPress will now install automatically. Once the progress bar reaches 100%, the setup is complete.
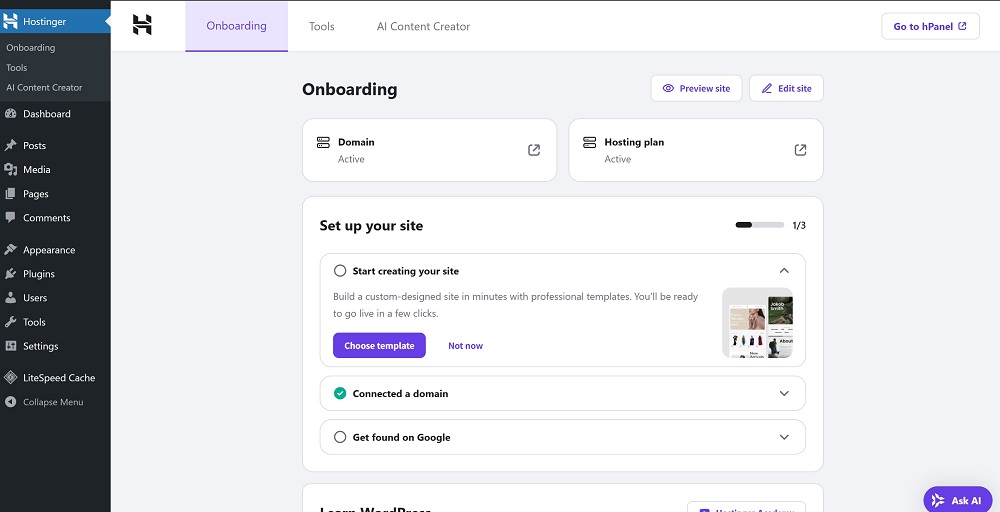
When you see the wordpress page, congratulations! Your WordPress website has been successfully installed.
You’re now ready to begin customizing, optimizing, and launching your site.
4. Configuring SSL and CDN to Speed Up Your Website
Enabling SSL and CDN is essential for improving your website’s security, SEO, and global loading speed. Hostinger makes it easy to set both up directly from the control panel (hPanel).
Enabling Free SSL Certificate
SSL (Secure Sockets Layer) encrypts data between your website and visitors, enhances trust, and improves your Google rankings.
Steps to Install SSL:
- Go to your hPanel, and click on “Website” > “Dashboard” for your domain.
- Under the Security section, find “SSL”.
- Click “Install SSL”.
- Once installed, the status will show as Active.
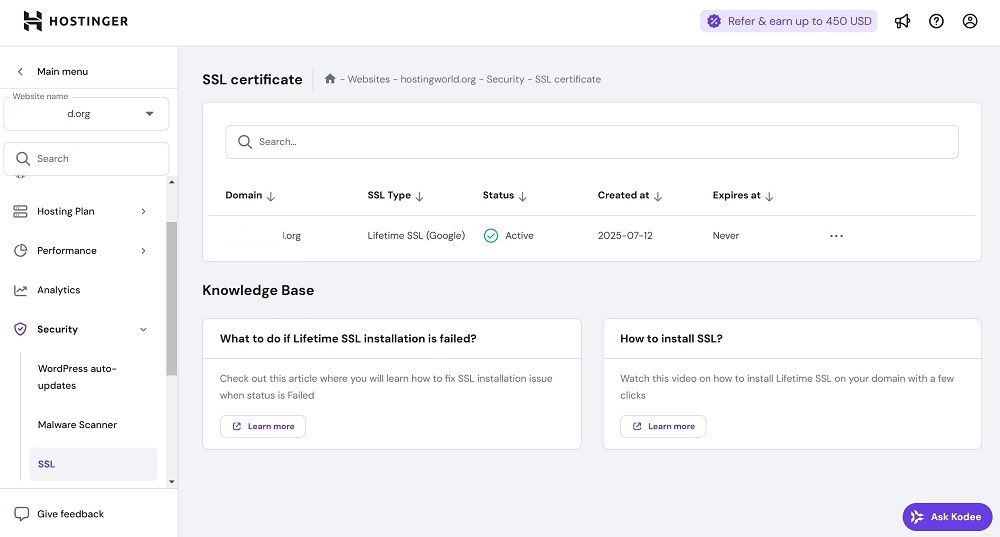
Your website will now load over https://, and browsers will display a secure padlock icon.
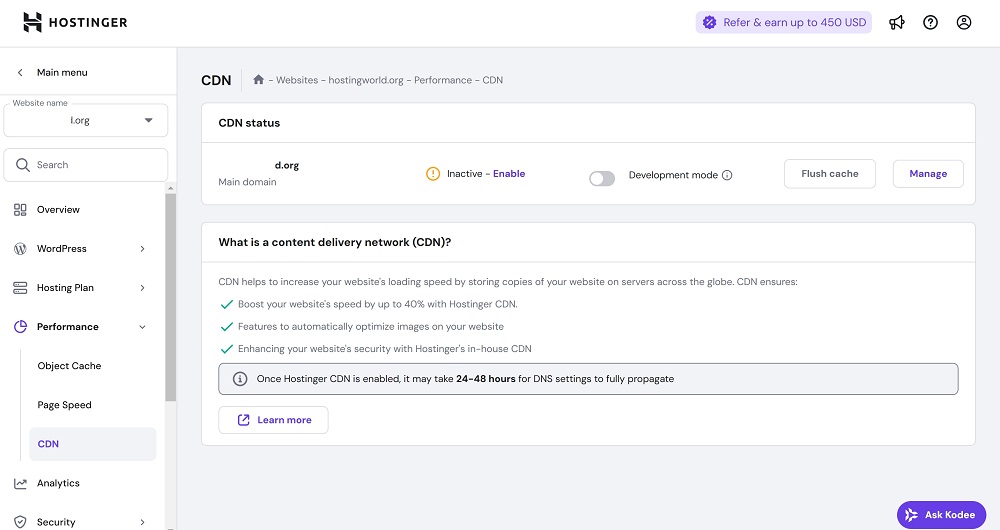
Enabling CDN (Content Delivery Network)
CDN helps deliver your website content faster across the globe by caching data on edge servers. This is especially useful for sites with large media files or international visitors.
Steps to Enable CDN:
- Go to your domain’s Dashboard in hPanel.
- Scroll to the Performance section and find “CDN”.
- If it’s currently Inactive, click “Enable”.
- Once activated, the status will change to Active.
CDN helps reduce latency, enhances performance, and protects against DDoS attacks.
Once SSL and CDN are enabled, your WordPress website will be both faster and more secure, offering a better experience for all your visitors.
Final Thoughts
Building a WordPress website with Hostinger is fast, easy, and affordable — even for beginners. With just a few guided steps, you can get your site online, secure it with SSL, and speed it up with CDN.
To recap:
- Hostinger offers high-speed, beginner-friendly hosting at a great price
- WordPress installation is fully automated
- SSL and CDN can be activated in just a few clicks
- Business Web Hosting is ideal for most new websites
If you’re looking to start a blog, portfolio, or business site, Hostinger and WordPress together make an excellent starting point.
Now go build something great!